A creative idea for photographers to add to their repertoire is Stop Motion Photography. Stop Motion Photography is the process of making a video out of sequential photos, as seen above.
Here’s how I did it.
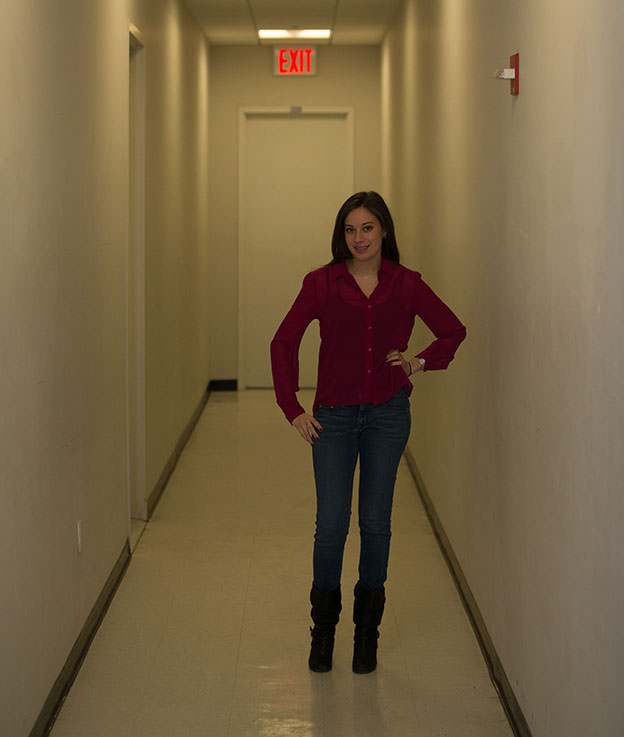
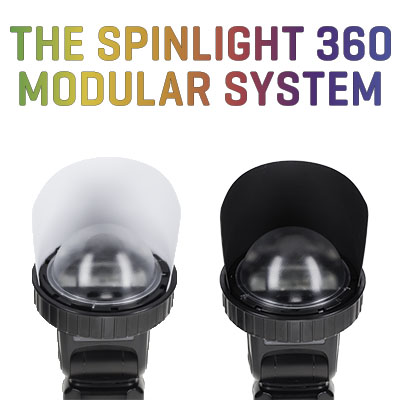
I had just finished a studio shoot with my model, and as we were walking down the hall to the elevator (see image below) I came up with the idea to do a simple stop motion clip. The equipment I used included the Canon EOS 1Dx, the Canon Speedlite 600EX RT, and the SpinLight 360® with the 6” White Card & the Clear Dome modifier.
One of the challenges I had was recycling speed because I was shooting my model while she was dancing and therefore needed to shoot rapidly. To overcome this problem I switched the flash to manual mode, so I could have better control over the flash output and consistency, and then I underexposed the ambient light ⅓ – ½ of a stop. My camera settings were 1/125s – f/2.8 – ISO 1600. Being slightly underexposed helped the flash recycling speed tremendously because I didn’t need a lot of flash power. The flash was on Manual mode @ 1/64 power, just enough to add punch to the skin and a nice catch light in the eyes. I was also shooting at 12 frames per second. The fact that the flash was able to keep recycling at 12 frames per second was very impressive!
Using the SpinLight 360® with the 6” White Card & the Clear Dome combination gave me nice soft lighting, and at 1/64 power I had sufficient light on the subject. And with the SpinLight 360® I do not throw light all around-I am able to direct it ONLY to the desired place I want the light to go.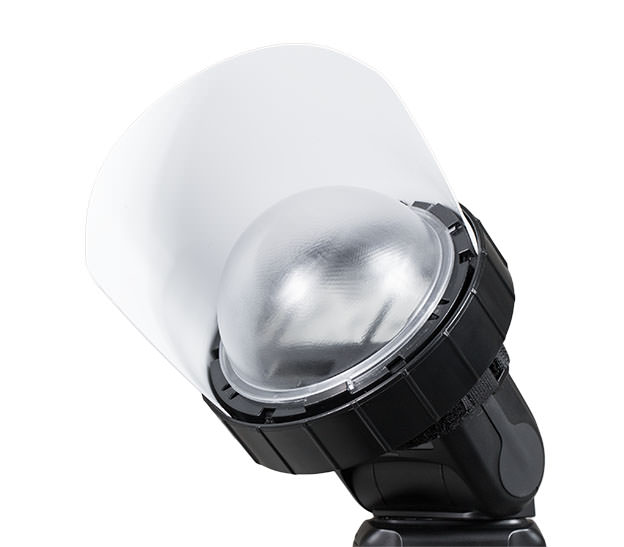
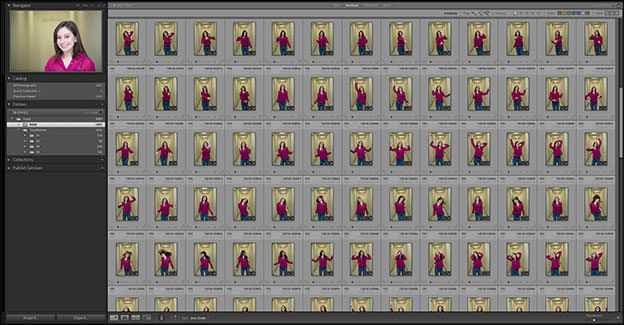
After shooting I took all of the images into Lightroom for general adjustment and white balance.
This is a very important step to make sure that all the images look consistent. Then in order to export them into Adobe Premiere as a 1080p sequence, I had to adjust the aspect ratio of the images to match the 1080p / 16:9 ratio.
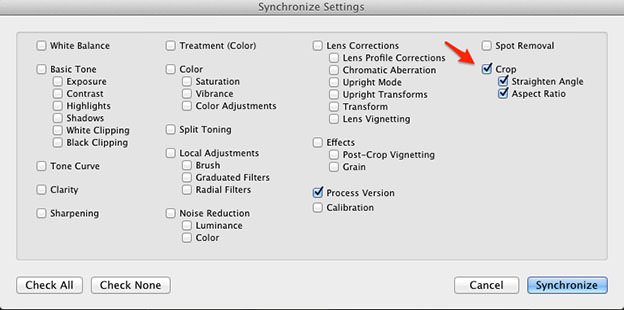
Lightroom makes it very easy to do this with its Synchronized Crop Setting (see image below).
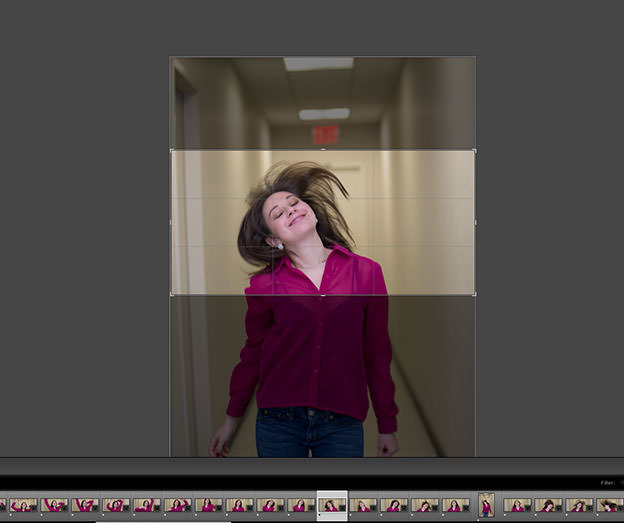
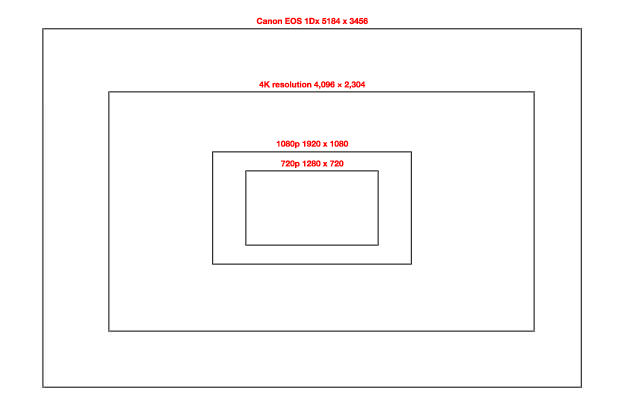
While cropping your images you have a chance to tweak your framing and adjust and focus the video frame to your liking. In this example the capture resolution was above 4K but the deliverable video is 720p, a very small part of the camera’s full resolution (see image below).
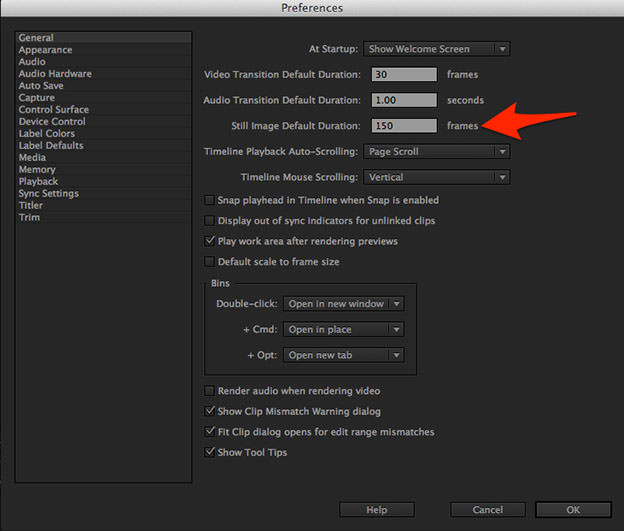
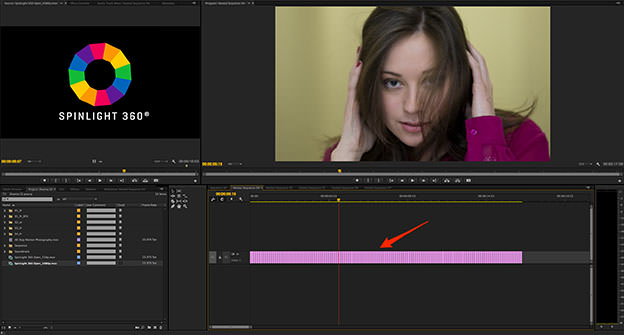
Once I had 4 sets of image sequences ready to export to Adobe Premiere, I experimented with the “Still Images Default Duration,” which tells Adobe Premiere how many copies of each still image to ingest in order to get the optimum motion and look for Stop Motion. Every case will be different. In this one the timeline was 24 frames per second. For this movie I used 3 copies per frame, as you can see in the image below.
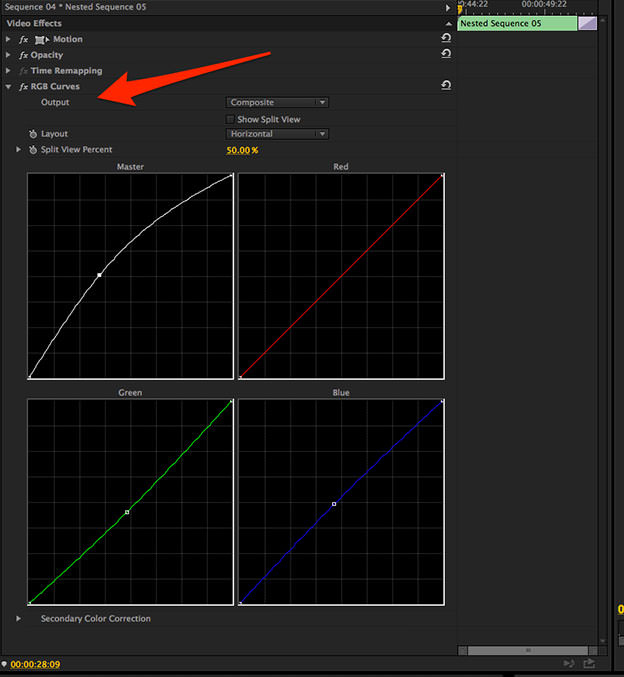
Then I added the final touches by adjusting the color using Adobe RGB Curve and adding music.
I hope this will inspire you. Stop Motion Photography could be a fun and creative new product to add to the services you currently offer.
-Yishai Shapir

