It’s super easy to make creative decisions and quick adjustments to get different looks using the SpinLight 360 system. Here’s a demonstration of a portrait session:
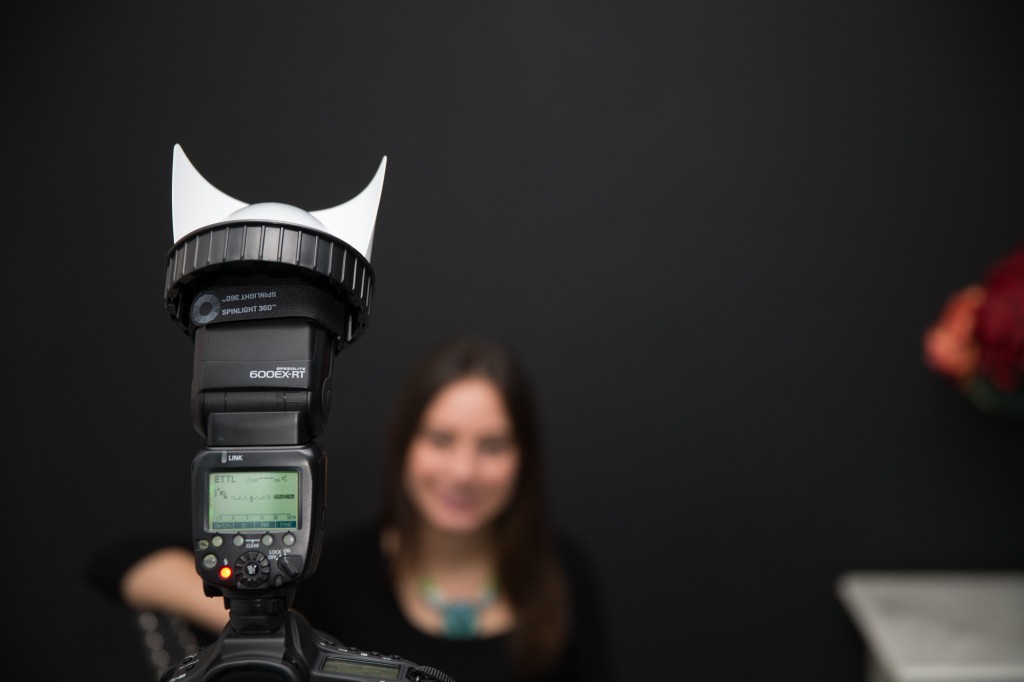
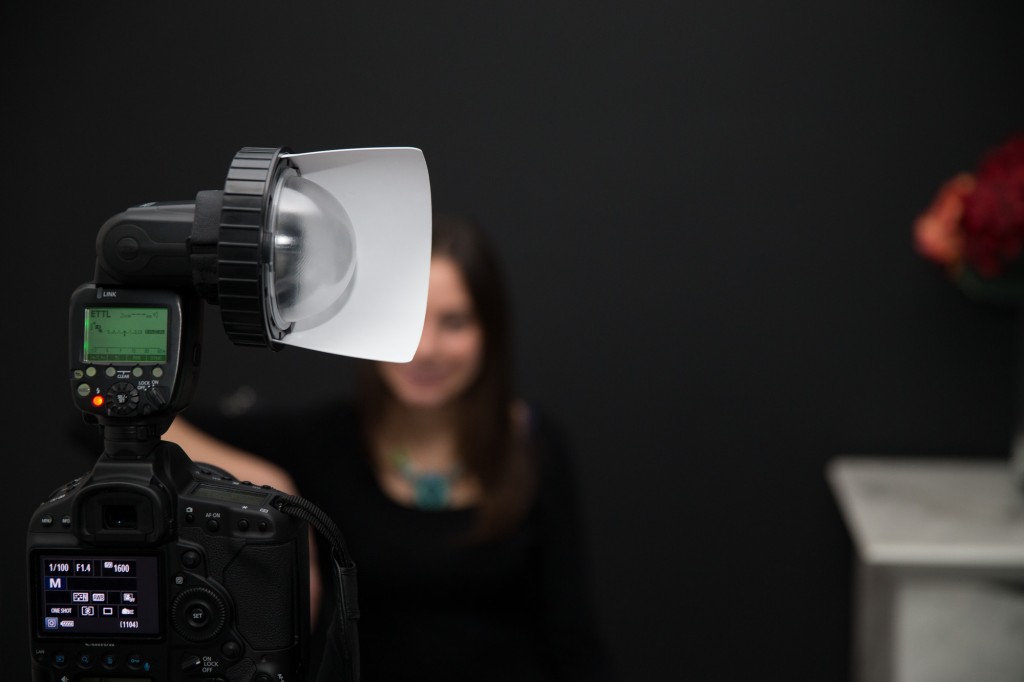
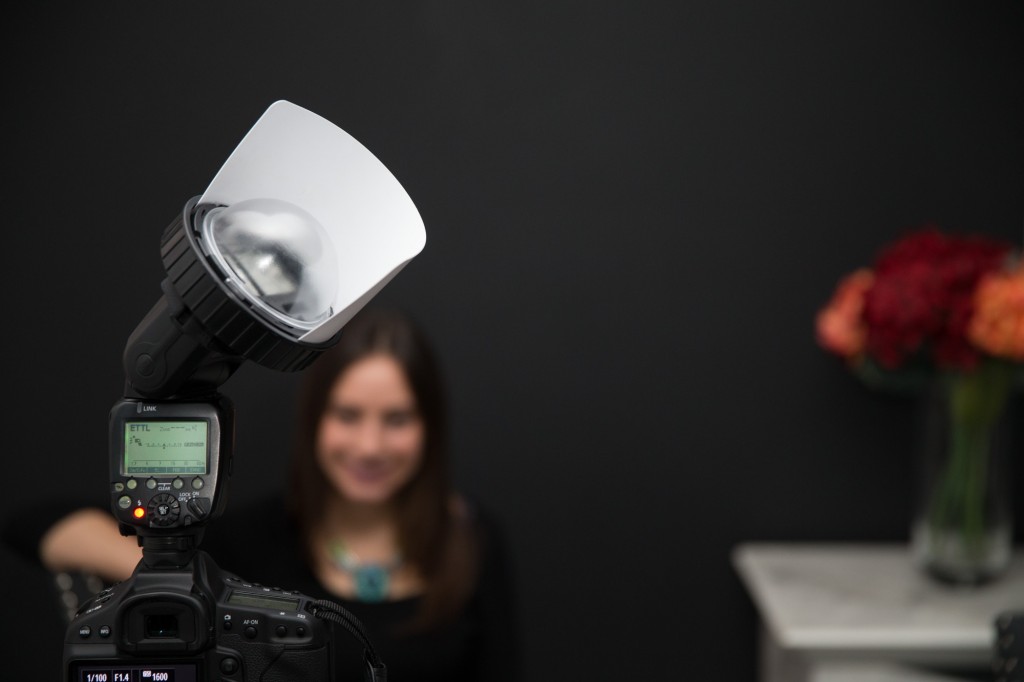
In this scenario our model Shanna is in front of a black wall, with the rest of the room having all white walls and a white ceiling. The camera is fixed on a tripod in front of our subject, set up with the SpinLight 360 Ring Module, a clear dome and a 4” white bounce card as shown below.
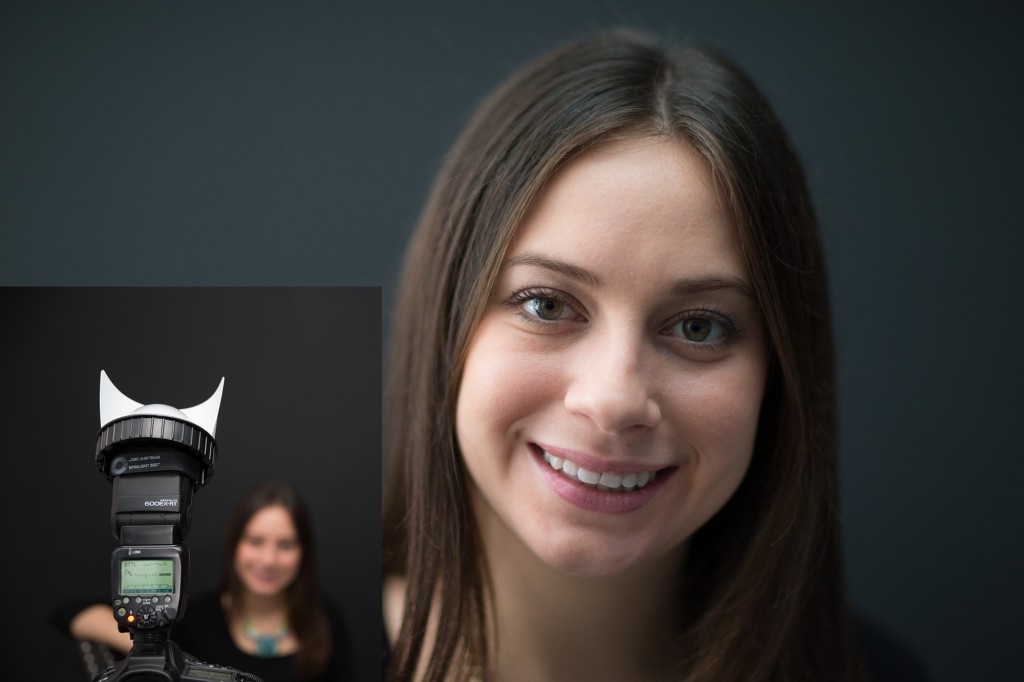
As you can see the flash is pointed up and the SpinLight card opening is pointed toward the subject. In this position the subject will be illuminated by the bounce flash from the celling above, as well as by direct light from the on-camera flash.
As you can see in the photo above, this particular set up resulted in a nice light. Just to recap, despite only having the one flash, the position of the flash and the SpinLight 360 card actually results in giving us TWO light sources illuminating the subject from a single flash – the ceiling, which we used to bounce off of, and the direct front on-camera flash.
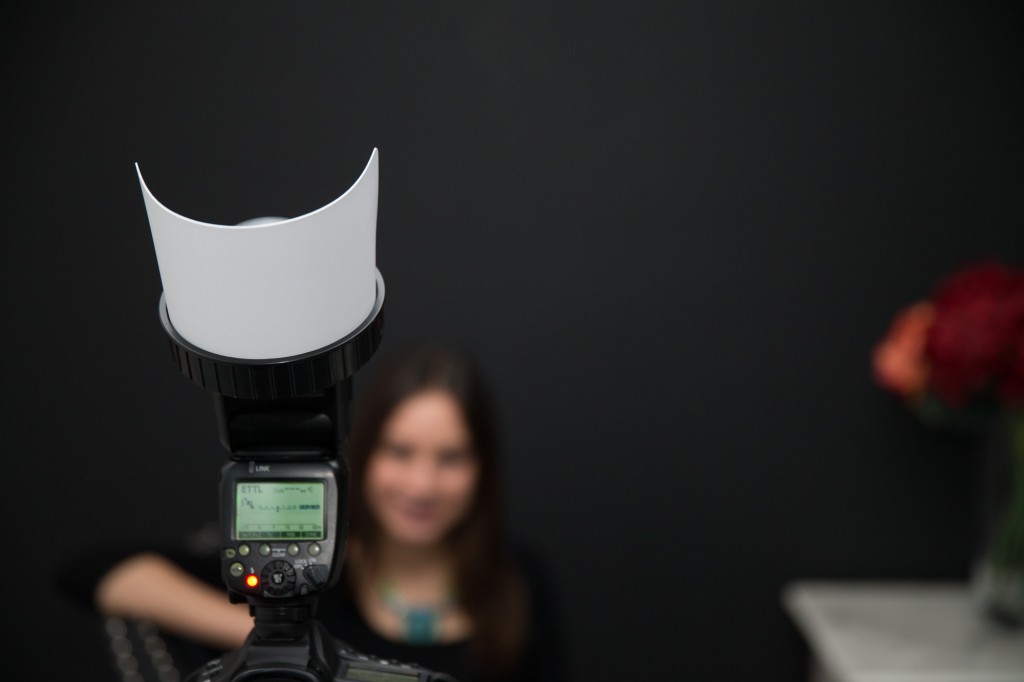
Next I easily blocked the subject from the on-camera direct flash by simply turning the SpinLight, moving the white card (you can use the black card for this as well) 180 degrees, so that the subject was blocked/isolated/goboed from the direct on-camera flash. That was the only adjustment I made.
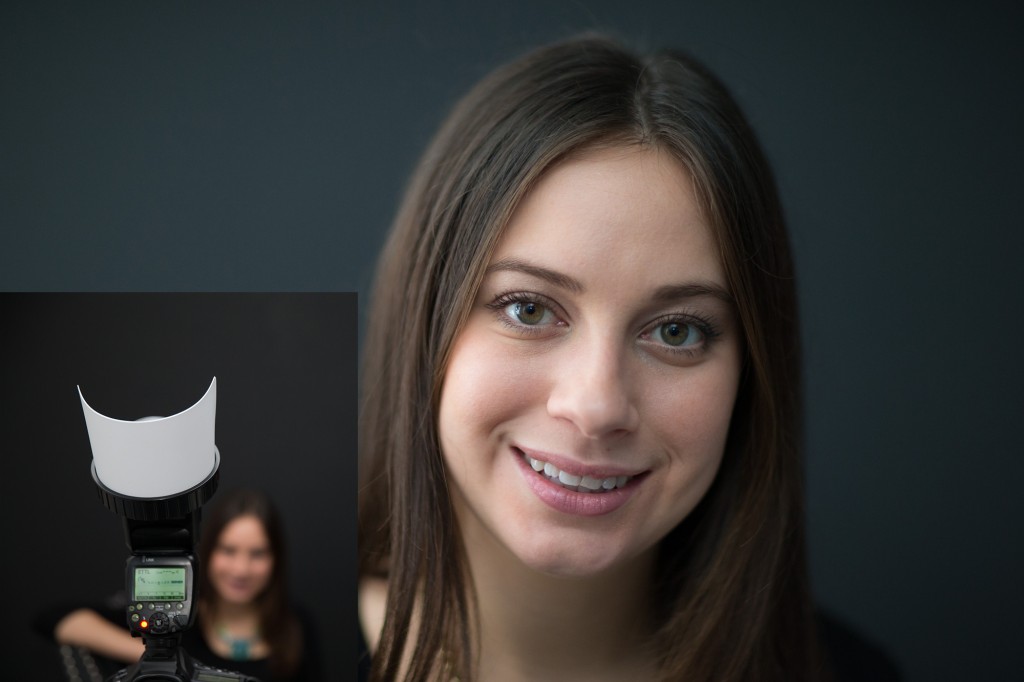
As you can see in the image above, because of the way the SpinLight card was positioned, the only light source that will illuminate the subject will be from above with the flash bouncing from the ceiling. The resulting illumination from only the overhead bounce flash is shown in the photo below.
Next I simply rotated the flash head backward and the SpinLight 360 forward so I could bounce the flash light forward, as shown in the next image.
Lets examine what happens to the direction of the light now. The flash illuminates the ceiling much further back, and also illuminated part of the back wall. This positioning gives a similar effect as if you were using a large soft box placed in front and above the subject’s head at approximately 45 degrees toward the subject. The SpinLight 360 allows you to achieve the same effect, without needing the softbox. The resulting image is below. You can see the soft light bounced off the ceiling and back wall, creating a large light source from just the on-camera flash.
It is important to understand the subtle differences between the resulting images.
When the flash was pointed forward and the SpinLight 360 bounce card was blocking the subject from the direct light, you can see the shadows under the eyes. The reason for this is that the light source comes from above the subject’s head.
However when we pointed the flash head backward and pointed the SpinLight 360 bounce card forward, we created a much bigger soft box, both above and in front, with the emphasis being in front of the subject. As you can see with that setup we cleared the shadows under Shanna’s eyes, creating a much more pleasing light.
Now from the same exact camera position lets explore other light directions.
As you can see from the above image the flash head is pointed to the right and the SpinLight 360 bounce card is pointed open toward the subject.
As you can see in the above image, with this setup the dominant light is the bounce flash off of the white SpinLight card, and the fill light comes from the wall to the right side of the camera.
Then if you simply rotate the white SpinLight card 180 degrees…
our model is blocked from the on-camera direct flash, and the only main light source will be the wall to the right of the camera, and part of the ceiling.
This setup gives you a nice wraparound light coming from camera right and the ceiling above.
Now lets simply twist our SpinLight and therefore the light direction again…
As you can see in the image above, the flash head is pointed to the ceiling to the right, isolating the subject from direct on-camera flash with the SpinLight bounce card.
This image shows the result of that setup. As you can see, by blocking the direct on-camera flash from hitting the subject with the SpinLight 360 card, the bounced light is coming from the ceiling above, the rear wall and the wall to the left camera side, creating this beautiful wraparound lighting.
So, to summarize how simple it is to achieve different lighting simply by turning the SpinLight 360 ring with a card attached, the image below tells the whole story. Simply by changing the lights’ direction and by blocking the on-camera flash from hitting the subject directly, your light quality will dramatically change.


